Using Virtual Garage Managers technical data and job times, you can add accurate pricing for servicing and repairs to your jobsheets.
In a busy garage environment, bits of paper can often end up going AWOL, so quotes that have been created over the phone can go walkabout and can make keeping track of jobs difficult. Below, I’ll show you how can generate an accurate quote for any service or repair, and add it to a jobsheet so that when it comes to assigning work to your technicians (or when you want to turn your jobsheet into an invoice), everything is in place.
Below, I’ll go through the simple process so you can add a quote to a jobsheet using jobtimes and technical data.
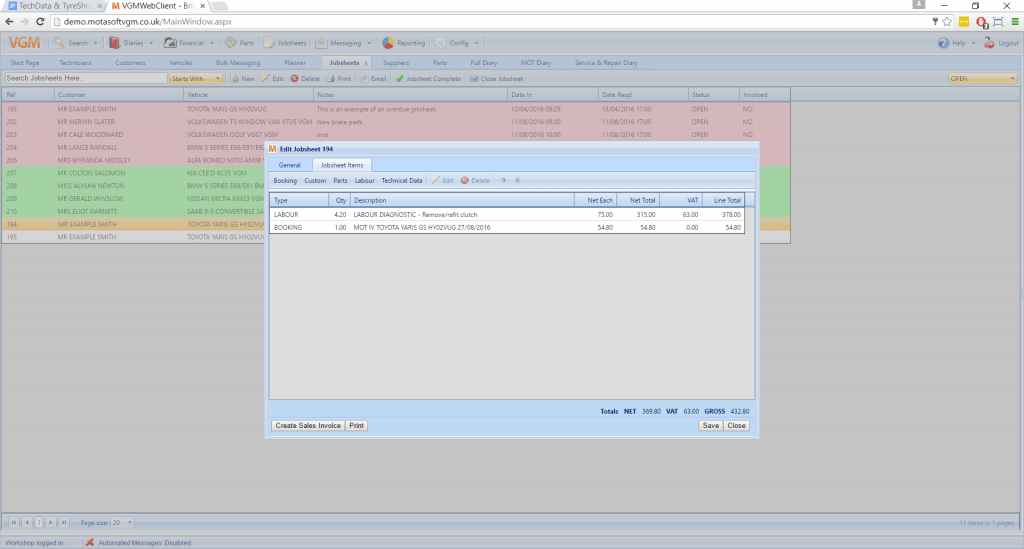
To start with, you want to select the jobsheets item in the top menu to get to the jobsheet screen. Double click the jobsheet that you wish to add an item to (or alternatively, create a new jobsheet).
Once the jobsheet is open, click the ‘Jobsheet Items’ tab.

From here, you’ll want to click ‘Technical Data’. Please note, at this point a technical data credit is used in order to go and get the data that you require.
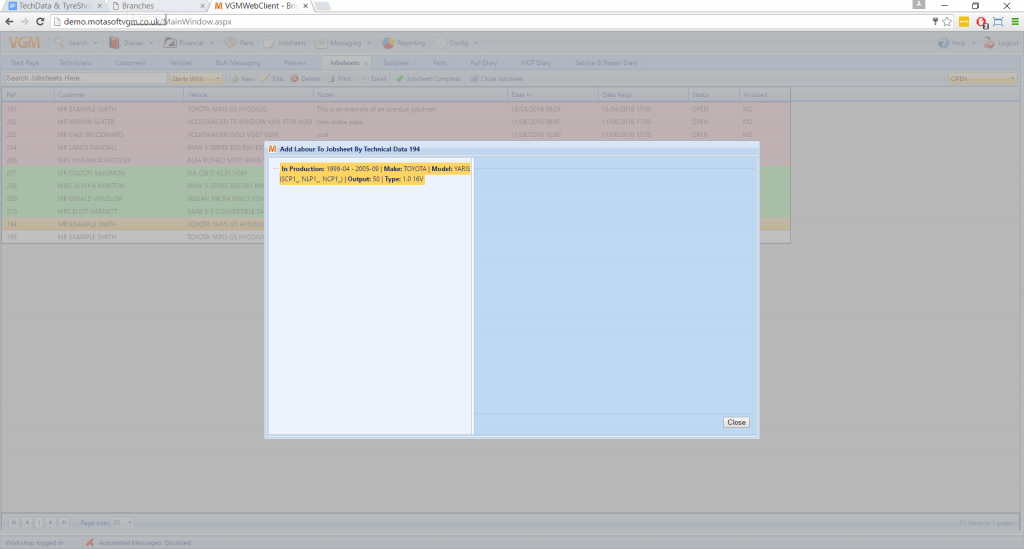
Once the technical data window opens, you’ll see the VRM result at the top of the tree view on the left hand side.
Click on the vehicle to open up a list of available categories. From here, you’ll want to navigate down the treeview. As you click on an item all of it’s children will become visible. For this example I selected ‘Clutch – gearbox – automatic transmission – gearshift > Clutch > Remove / refit clutch’.
When you select an option, the right hand side of the window is populated with the following fields:
- Type
- Net price
- Default VAT code
- Default nominal code
- Quantity

When you select the ‘Type’ dropdown, you’ll be presented with the different labour rates that you have configured. You’ll be able to select which labour rate you wish to apply for this job. By selecting this, you’ll see that all of the options below will be pre-populated with your default values.
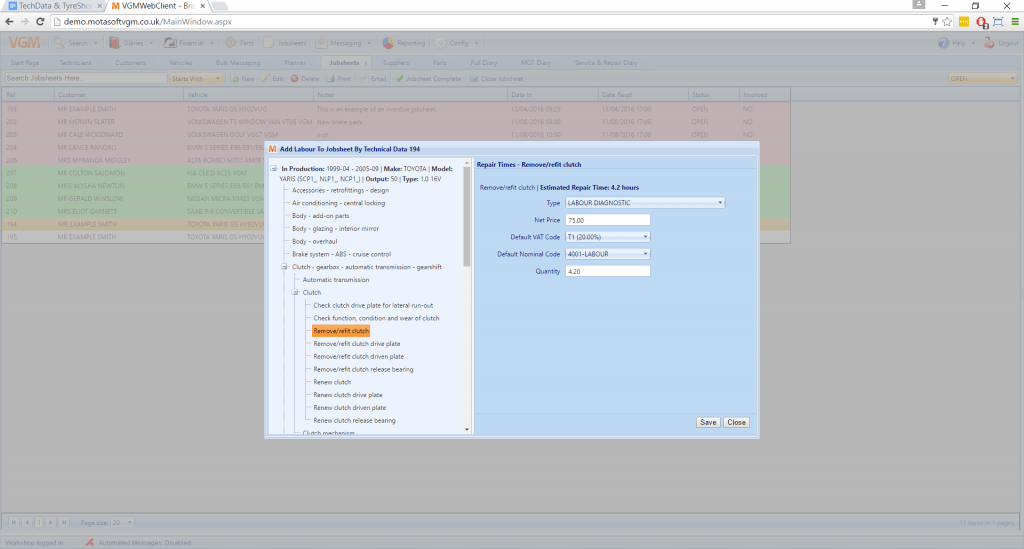
From here, you can tweak any of the values (for example, if you want to assign it to a different nominal code or change the amount of time you believe the job will take.
To add this to the jobsheet, all you need to do is click save. The item will then be added to the jobsheet, which can then be printed and upon completion, can be converted to an invoice.