To add a new Sales Document Message, you will first need to create a Sales Document Message Template. Once you’ve done this, you can use that template to add a new Sales Document Message.
To begin, click on “Financial” in the top menu, then on “Financial Settings” in the dropdown that appears, and then click on “Message Settings” in the tab strip at the top. Next, click on “New” in the Sales Document Messages grid to open the “Add / Edit Sales Document Message” window.
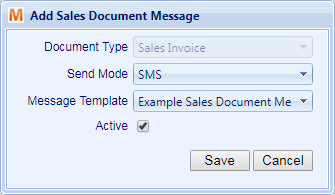
Select the send mode that matches the Message Template you set up previously, and then select your message template from the Message Template dropdown. Make sure the “Active” checkbox is ticked, and then click on “Save” to add your new Sales Document Message.
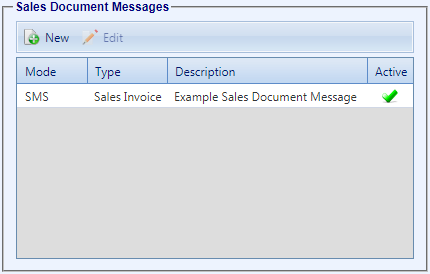
Your message will now be added to the Sales Document Messages grid in “Financial Settings”. This message will now be scheduled every time you post an invoice, and will be delivered either immediately or a fixed amount of time after posting, depending upon the Delivery Offset you configured on the template.