You can configure the markup that you wish to add to every tyre that you sell with a couple of simple options. Once you have configured your markup, this will be added to the net price against any tyres you have in stock.
There are 3 different ways that you can add markup to your tyres. To get started, simply click the config item in the top toolbar, followed by tyres.
Base configuration.
While you’re in the ‘General’ tab you can configure how the markup will be applied to your local pricing.
Markup criteria
The markup criteria allows you to define the rules as to where certain amounts of markup will be applied.
- Category
If you set this to category you’ll be able to add different amounts of markup to ‘Budget’, ‘MidRange’ and ‘Premium’ tyres. - Cost
If you select cost, you’ll be able to add different amounts of markup depending on the cost value of the tyre. - Rimsize
If you select Rimsize, you’ll be able to add markup to a tyre based on it’s rimsize.
Markup type
Once you’ve established your markup criteria, you can decide how much markup you add in 2 different ways.
- Percentage
Add a percentage of the tyre’s cost to the tyre’s price.
E.g. Add 35% of the tyres value as markup to all Budget tyres. - Fixed
Add a fixed amount of markup to a tyre’s cost.
E.g. Add £20 to all tyres under a cost price of £40. - Fitting net price
You can also add a fitting price per tyre. This doesn’t get affected by any of the markup rules and is added after the markup is applied.
Once you have configured this, click save in the bottom right.
Configure tyre price by category.
Tyres are divided into 3 different categories, Budget, Mid-Range & Premium, and you can add different amounts of markup depending on the category.
To start – from the tyre config screen click the ‘Markup’ tab and then make sure you’re on the ‘Category’ tab.

From here, click the ‘New’ button. This will bring up the window below.
To start, enter the amount of markup that you wish to apply. If you selected a ‘Fixed’ markup tyre during the base configuration then this value will add a fixed amount to each tyre. If you selected ‘Percentage’ then this value represents the percentage of the tyre’s value that will be added.
Once you’ve entered the markup amount you wish to use, select which tyre category you wish to apply the markup to and select the markup type. Local will apply this to your local prices and web will apply it to prices displayed through your website (if it’s provided by us).
Select LOCAL. After this, simply click ‘Save’.
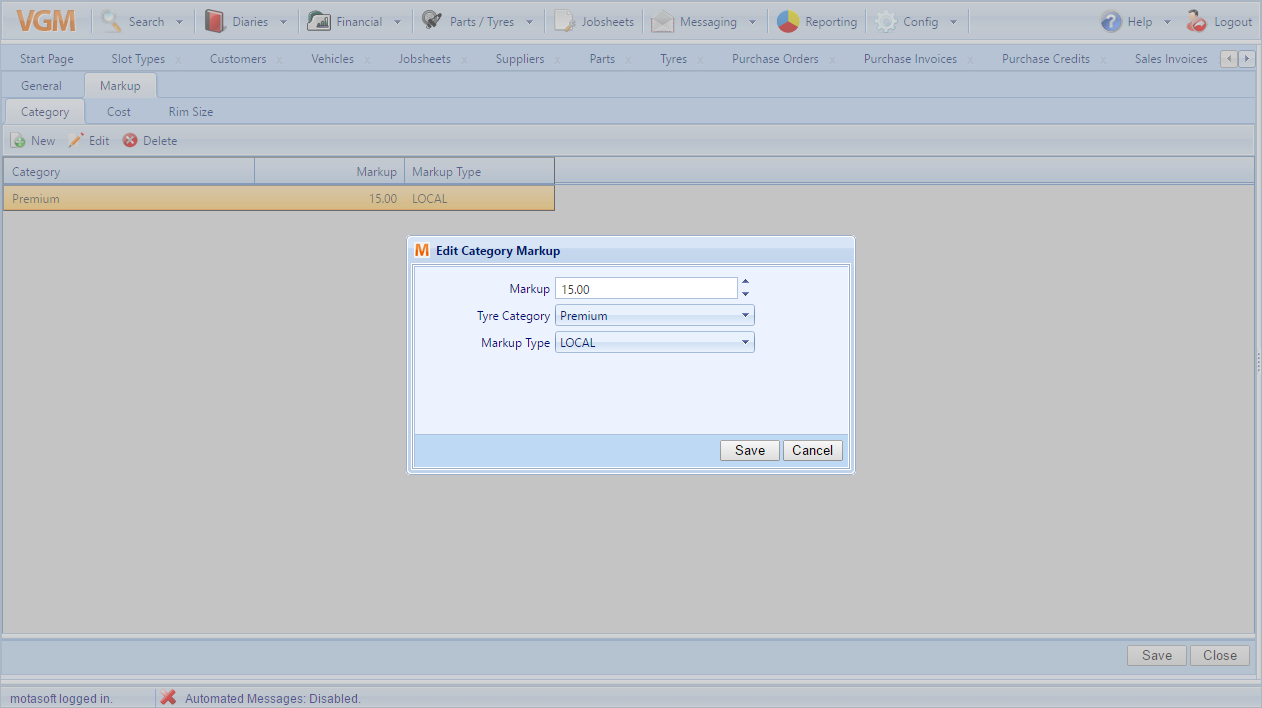
All that you need to do here is ensure you create a markup rule for each category, to ensure that you’re adding markup to all of your tyres.
Configure tyre price by cost.
When configuring your tyre markup by cost, you can create as many price bands as you require, so if you wanted one amount of markup below £40, one amount from £40 – £60 and one for £60+ then that possible.
To get started, go to the Tyre Config > Markup screen and select ‘Cost’. From here, click new. This will bring up a new popup window where you can configure one of your price bands. In this example, we want to add £11 markup to tyres with a cost of between £0 and £60. To do that, enter 0.00 in value from, 59.99 in value to (we use 59.99 as a tyre with a cost of £60 will have different markup applied) and then add 11.00 to the markup amount (this will obey the markup type in the base configuration – either fixed or percentage).
Finally select ‘LOCAL’ as the markup type and click save.
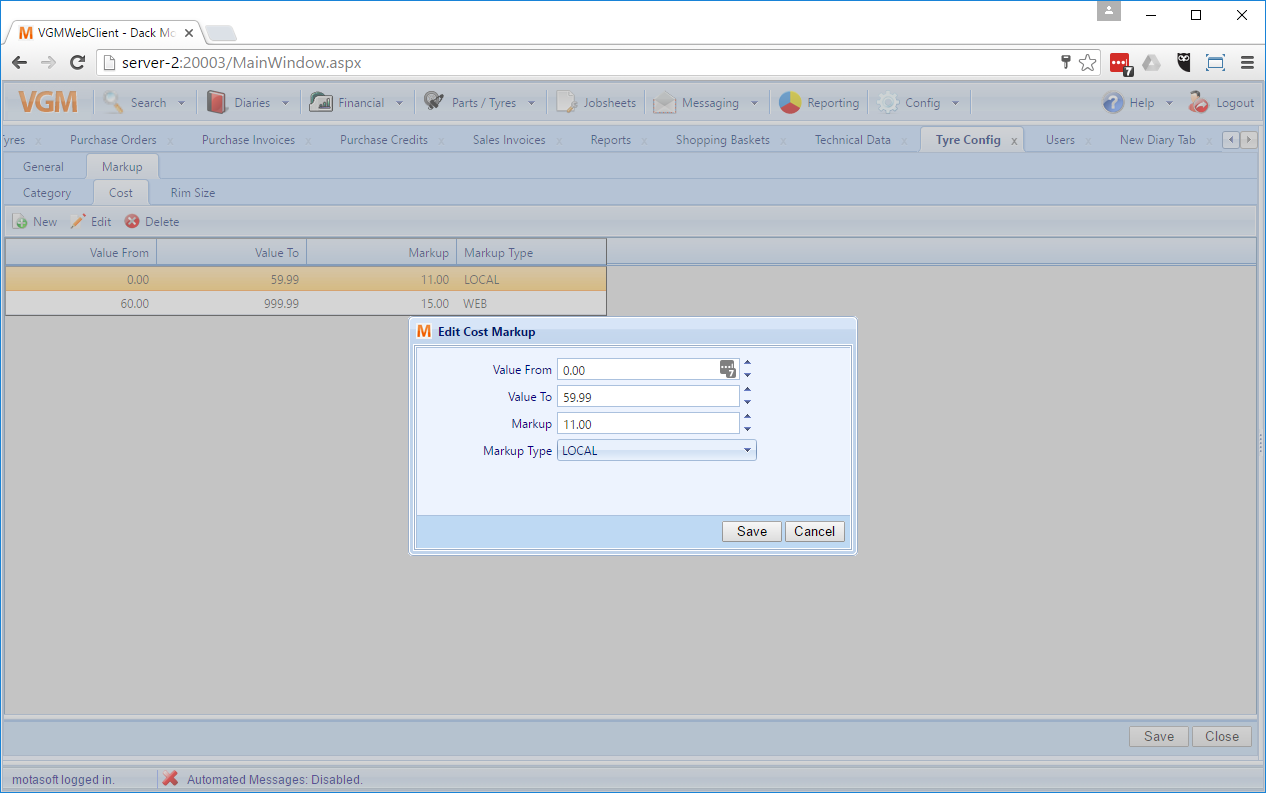
To make sure that all tyres will have markup applied, make sure you have a markup value applied to all values from 0.00 to 999.99 without overlapping values.
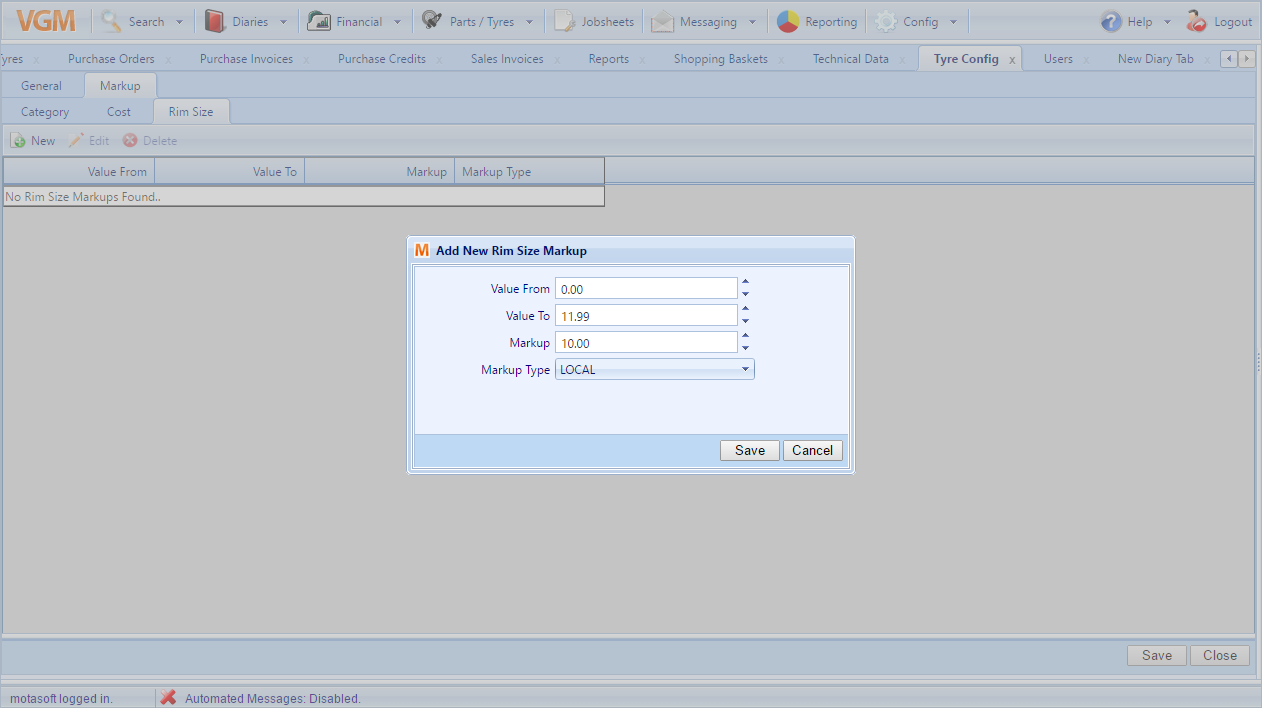
Configure tyre price by rim size.
The final way to configure your tyre markup is by rim size. This is similar to pricing the tyres by cost, as you can create as many price bands as you require.
To get started, navigate to the Config > Tyre Config. From here, make sure you’re in the markup tab and select rim size. Click new.
Here you’ll be able to start adding the different rim-size pricing bands. In this example, I want to create a band that will add £10 markup to all tyres with a rim size between 0 – 12. To do this, enter in the values below. As before, the ‘Markup’ will obey the markup type in the base configuration – either fixed or percentage. Select the markup type as ‘LOCAL’.
Once you’ve entered your values, click save.